
extreme woodwork experts kitchen and wardrobes installer
Kitchen cupboards is a detailed DIY project that requires careful preparation and precise execution to ensure they are level and secure. Modern investment installers typically recommend installing the upper (wall) cabinets first so the base units don’t get in your way while you work.Here are a few tips on how to Installing kitchen cupboard.
GET A QUOTATION1. Preparation & Layout
Before lifting any units, you must map out the kitchen to ensure everything fits perfectly.
Find the high point: Floors are rarely perfectly level. Use a straight edge and level to find the highest point on the floor and mark it on the wall.
Mark reference lines: From that high point, measure up 34½ inches (standard base cabinet height) and draw a horizontal level line around the room. Repeat for the bottom of the wall cabinets (typically 54 inches from the floor).
Locate studs: Use a stud finder to find and mark the vertical center of every wall stud along your layout lines.
Remove hardware: Take off all cabinet doors, drawers, and shelves to make the units lighter and easier to handle.
2. Installing Upper (Wall) Cabinets
Attach a ledger board: Screw a temporary ledger board (like a 1×4) into the studs just below your wall cabinet reference line. This supports the weight of the cabinets while you screw them in.
Start in the corner: Always begin with the corner unit or the far-left unit.
Mount the unit: Lift the cabinet onto the ledger, drill pilot holes through the back into the studs, and secure with cabinet screws (standard #10 or #12 screws at least 3 inches long).
Connect adjacent units: Clamp the next cabinet to the first, ensuring the face frames are flush. Drill pilot holes and screw the cabinets together through the face frames before securing the second unit to the wall studs.
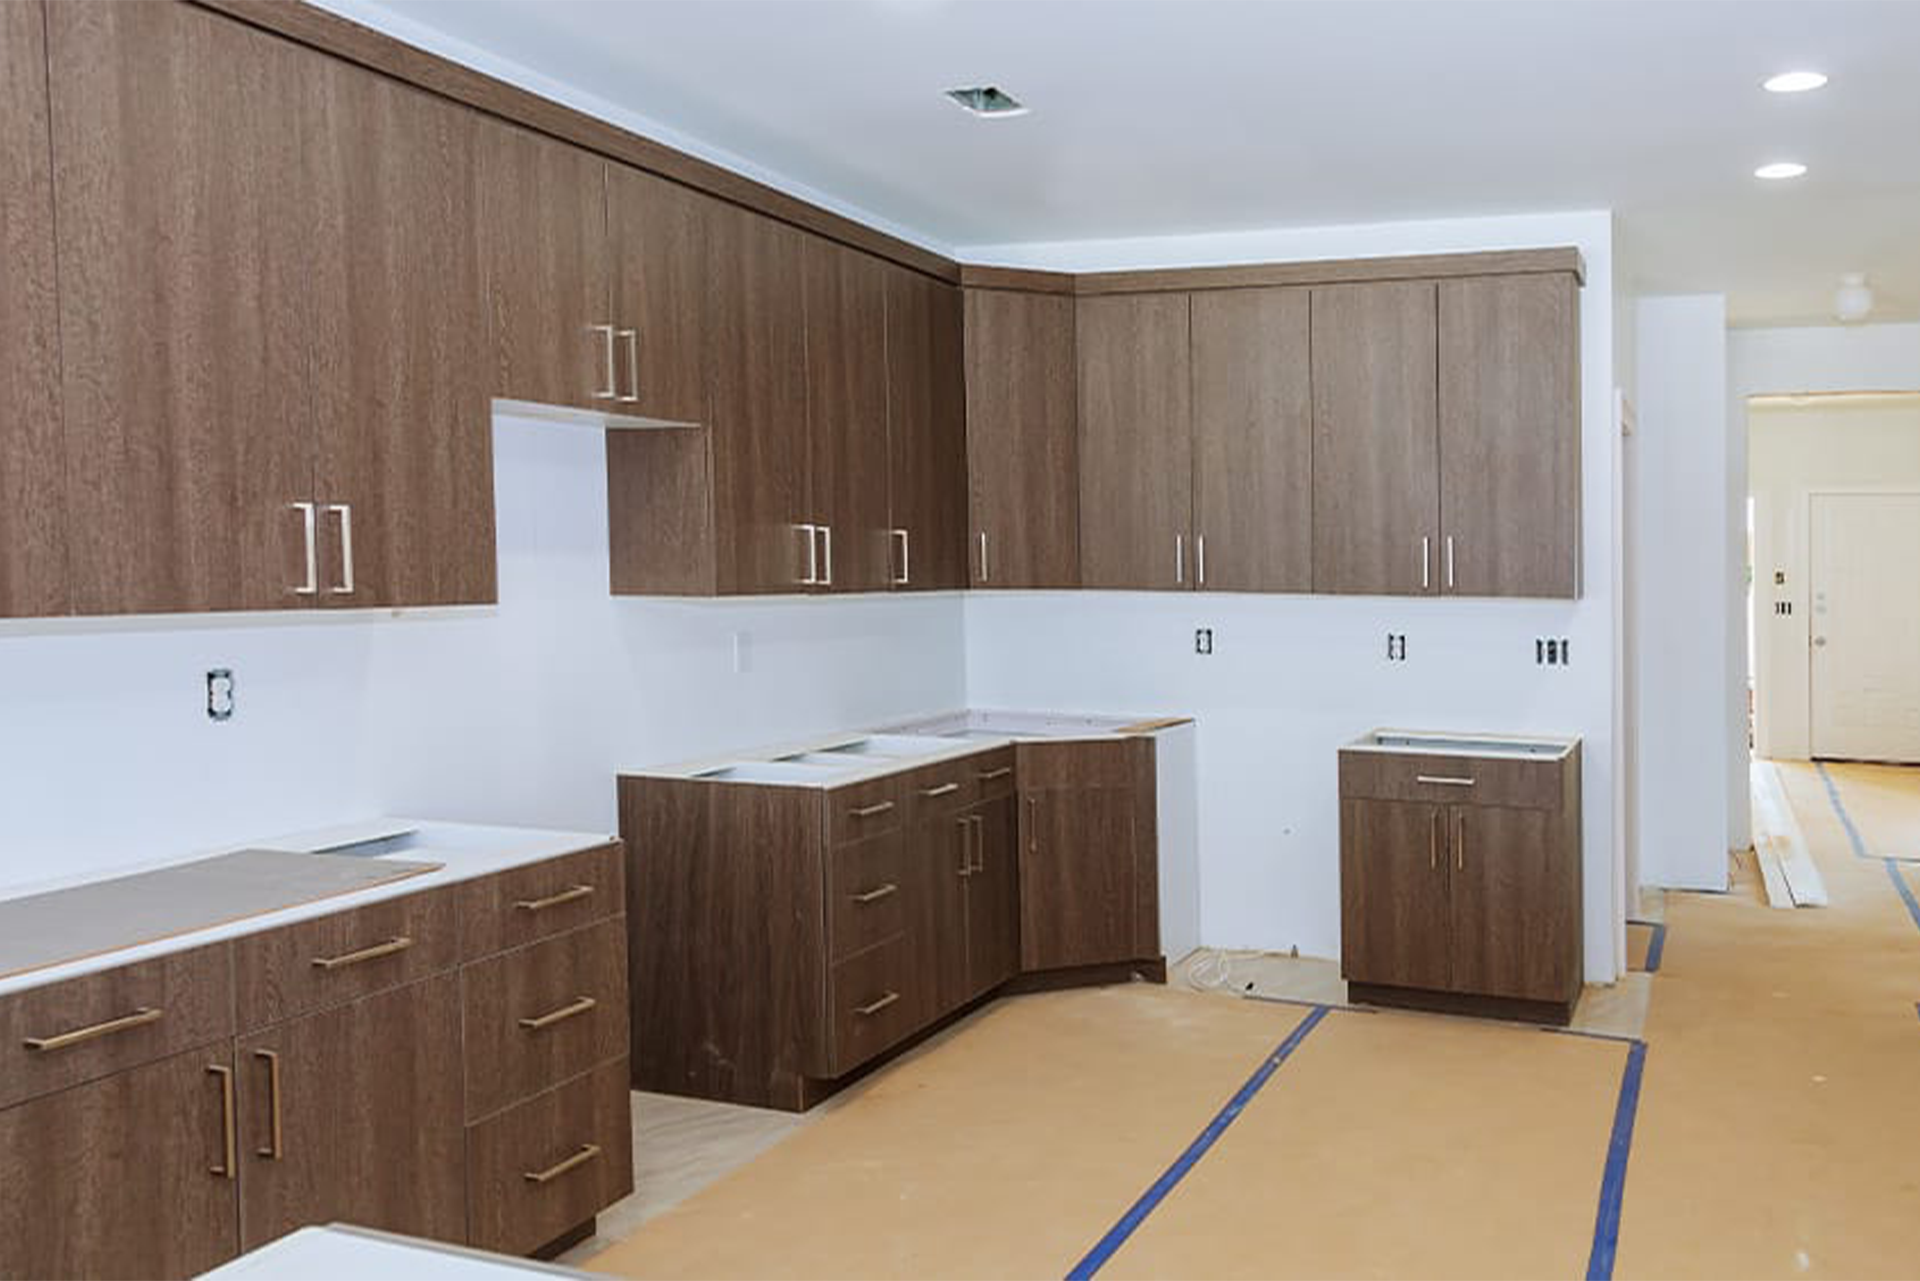
3. Installing Base Cabinets
Position the corner unit: Move the corner base cabinet into place. Align its top with your reference line on the wall.
Level with shims: Use wood shims underneath and behind the cabinet to ensure it is perfectly level and plumb (straight up and down).
Secure to the wall: Drill through the back hanging rail into the studs. Do not tighten completely until all units in the row are connected and level.
Cut for plumbing: For the sink cabinet, measure and cut holes for water lines and drain pipes using a hole saw.
4. Finishing Touches
Final tightening: Once all cabinets are level, plumb, and screwed together, tighten all wall mounting screws.
Install filler strips: If there are small gaps between the end cabinets and the wall, cut and install filler strips.
Reattach hardware: Put the doors, drawers, and shelves back on. Adjust the hinges to ensure the doors hang straight and close properly.
Toe kicks and trim: Measure and nail the toe kick moulding across the bottom of the base cabinets to hide the shims and gaps.